In this OtherLevels Pro Tip, we’ve got some helpful advice on conducting your own split test.
What is a Split Test?
Split testing Is a data-backed method of comparing two (or more) versions of a message sent to equal and randomized audiences to determine which performs best and increases conversions – whether that’s clicks, registrations, game plays, or deposits.
The process involves creating two (or more) versions of one piece of content, keeping an original and only making changes to a single variable in the other(s).
What kinds of variables can be tested? You can change anything you like, but it’s best to start with the simple things:
- Promotional offers
- Images
- Subject lines
- Body copy
- Landing Pages
- Send times
- Dynamic content
We recommend sending multiple messages per week as part of a thoughtful testing plan that spans a minimum of four to six weeks before determining a winner.
Ready to get started?
When logging into the OtherLevels dashboard, navigate to an existing or create a new campaign, and then create a new message. This testing can be done on any of our channels.

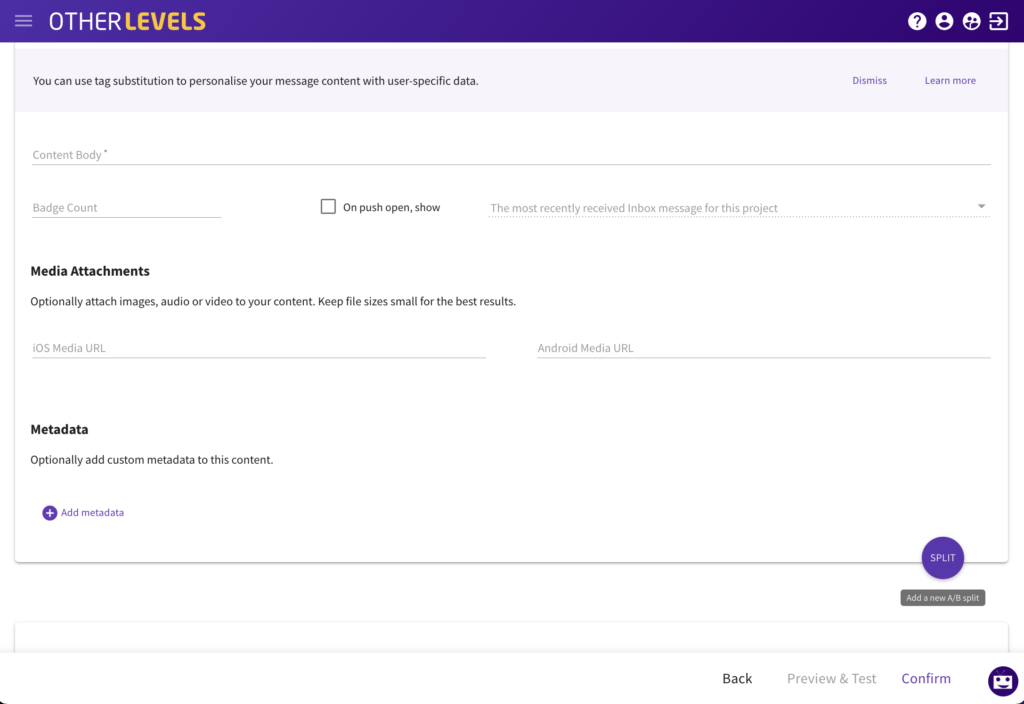
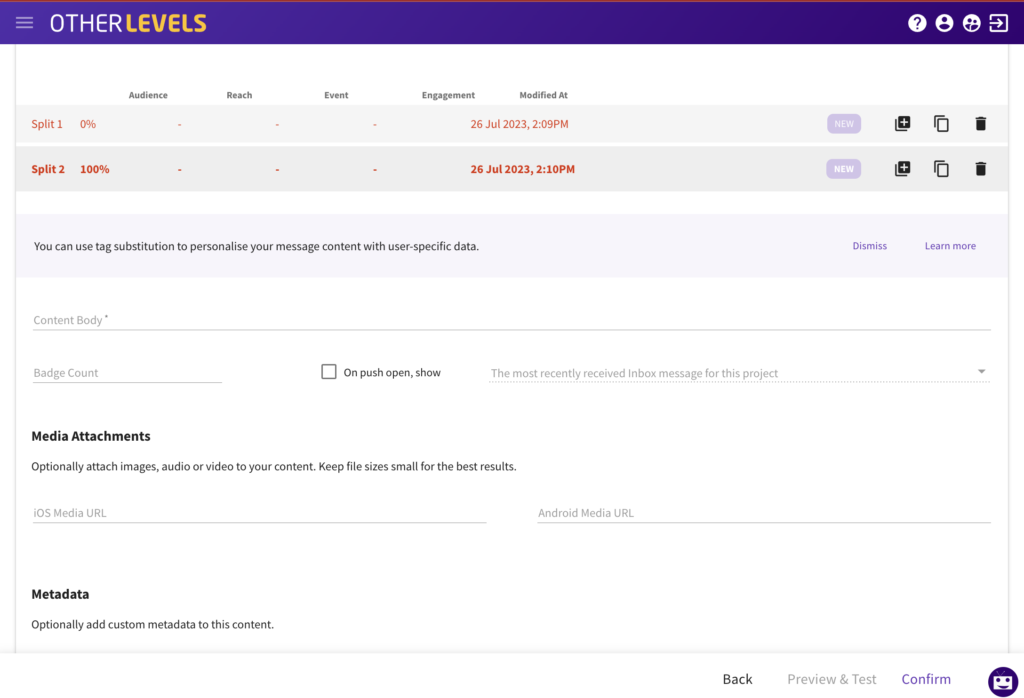
Now you’re ready to create your message. After you’ve fully set up your original message, click on the purple split button. This will generate an exact copy of the original message that you can then go in and edit variables you will want to test.
You can create as many splits as you’d like, automatically dividing your audience into smaller randomized portions. We always recommend keeping your splits to 2-4 parts (50/50 or 25/25/25/25 split) to guarantee results that are statistically significant.
For your ongoing evergreen campaigns, you can adjust the splits to isolate your best performing splits without needing to stop or restart.

Need some help? Your OtherLevels Team is here! Reach out to your OL point of contact with any questions or ideas.


